So, you’re on the comeback trail from an ankle injury? First off, kudos! 👏 The road to recovery needs smart tools, and guess what? Your new best friend might be a humble jump rope. Let’s break down why and—most importantly—how to use it safely and effectively to rebuild that crucial ankle stability and brain-muscle connection (aka proprioception).
🌟 Why Jump Rope is a Rehab Super-Tool
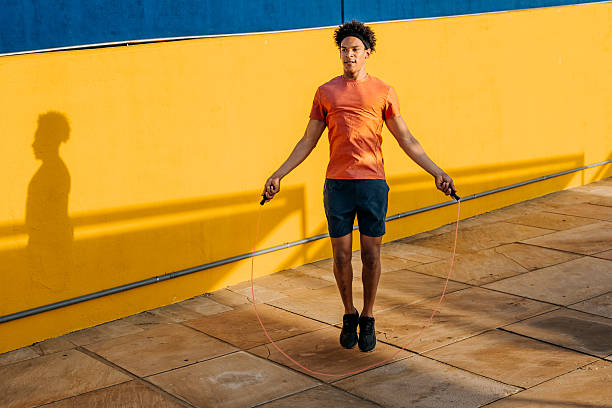
Forget just cardio! When done right (low impact!), jump roping is a dynamic stability drill. It teaches your ankles to react, adapt, and stabilize under controlled movement. The golden rule? Jump less than 3/4 inch off the ground! 🚫⬆️ This minimizes impact while maximizing neuromuscular training.
📋 Your Phased Jump Rope Rehab Protocol (Let’s Get Structured!)
Follow this progressive plan. Always listen to your body and consult your therapist!
🔄 Phase 1: Foundation First (Weeks 1-2)
Goal: Wake up the muscles & nerves. Find your rhythm.
Best Rope Type: A standard, predictable rope. Avoid super-fast speed ropes for now.
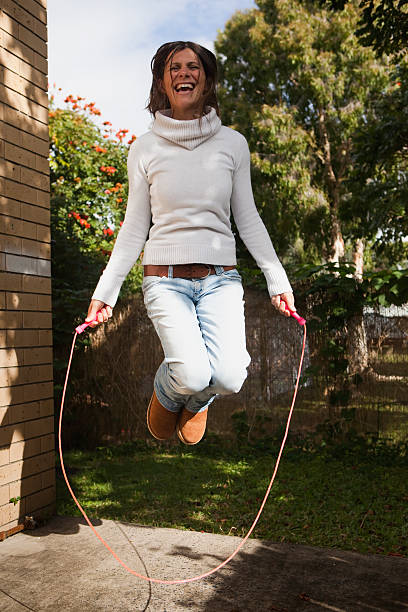
Exercise A: The Basic Bounce (Find Your Feet)
What: Simple two-footed jumps. Focus on quiet, gentle landings.
How-To: Jump for 30 seconds → Rest for 60 seconds.
Sets: Repeat 5-8 times.
🎯 Key Cue: “Soft knees, light toes!”
Exercise B: Single-Leg Awareness (Left & Right Chat)
What: Jump on one leg for 4 counts, then switch to the other for 4 counts.
How-To: Jump for 30 seconds (alternating) → Rest for 60 seconds.
Sets: Repeat 3-5 times.
🎯 Key Cue: “Stay tall, find your balance point.”
⚡ Phase 2: Level Up! (Weeks 3-4)
Goal: Add dynamic movement & coordination challenges.
Exercise C: The Alternate-Foot Step (Jog on the Spot)
What: Mimic a running motion, one foot at a time. Great for building control!
How-To: Do 30 secs of Basic Bounce → then 30 secs of Alternate-Foot → Rest 60 secs.
Sets: Repeat 4-6 times.
🎯 Key Cue: “Keep it low and controlled.”
Exercise D: The Combo Challenge (Free-Form Flow)
What: Mix it up! Combine basic bounce, alternate-foot, and single-leg jumps in any order.
How-To: Jump continuously for 60 seconds → Rest for 90 seconds.
Sets: Repeat 3-4 times.
🎯 Key Cue: “Have fun with it! Control is key.”
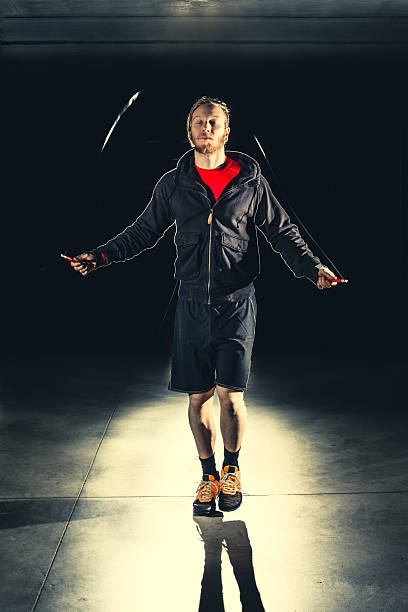
🔧 Tool Time: Choosing & Optimizing YOUR Rehab Rope
Not all ropes are created equal, especially for rehab! This is where custom jump rope development shines. A perfect rope should adapt to your phase of recovery.
1. The Weight & Feel Matters!
Early Phase: Use a standard rope for clear swing feedback.
Strength-Building Phase: This is where a slightly weighted rope can be a game-changer! 🏋️ A lightly heavy weighted jump rope (with extra grams in the handles) builds forearm/shoulder stability without overloading your ankle. (Psst… this requires custom jump rope handle service for perfect balance!).
2. Match the Rope to Your Goal:
Building Rhythm? A slightly heavier PVC rope is your friend.
Boosting Agility? Transition to a low-drag speed rope for faster, safer footwork drills.
3. The Devil’s in the Details:
A secure custom jump rope swivel lock prevents annoying mid-jump fails. 🔒
An ergonomic, non-slip custom handle is crucial for sweaty hands and lasting comfort.
🚀 Beyond the Rope: Partner with AG.sport for Full-Cycle Solutions
At AG.sport, we see a custom jump rope as more than gear—it’s a tailored rehab partner. We offer end-to-end custom skipping rope solutions:
🛠️ Hardware & Design: From handle weight to rope material, we build it to your spec.
📱 Software Integration: For smart ropes, we can sync data with your rehab apps!
🎁 Brand & Packaging: Creating a product that reflects your clinic or brand’s quality.
Ready to jump into smarter rehab? Let’s build the perfect tool for your recovery journey.
AG.sport | We Craft the Tools That Help You Rebuild.
👉 Start Your Custom Project: www.agsport29.com
📧 Questions? Let’s Talk: ag@agsport29.com